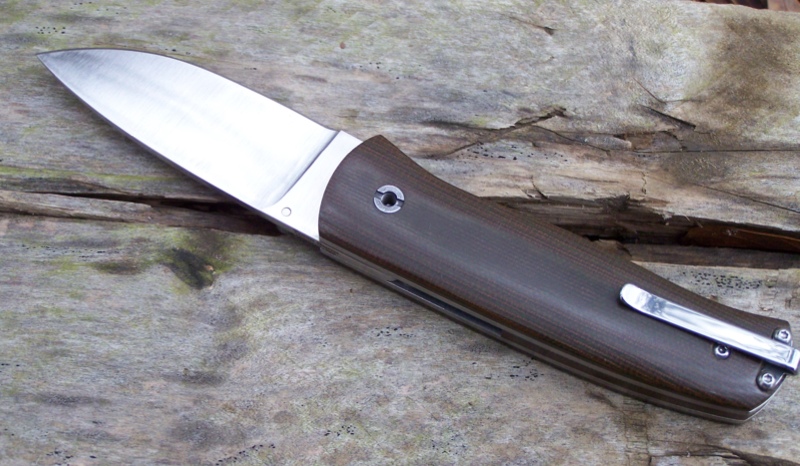
Well, the holidays have slowed me down some, and now the temperatures have dropped and slowed me down some more :)
I finally got out and put the final touches on a folder for a customer today...
Wednesday, December 26, 2012
Monday, December 17, 2012
This afternoon's work
Ok, the blade is in the kiln for heat treating, so I can work on the scales for the knife. The following pictures show the profiling of the micarta to the shape of the liners, then thinning the micarta down to around 1/8".
More from the weekend
I clamp on a file guide to the blade to make sure the plunge grinds are even on both sides of the blade. Then, I grind in the initial bevels for heat treating. By putting the start of the bevels on while the steel isn't hardened, it doesn't eat up belts as quickly with a sharp edge. The remainder of the grinding will be done after the blade has been hardened.
From the weekend
I ground the lock bar interface on the tang of the knife at just over 7 degrees. Different makers use different angles, but find something that works and work with it. Here I'm setting the angle of the work rest to use as a guide.
Friday, December 14, 2012
Backspacer and stop pin
I've started work on the backspacer, which is going to be made of green canvas micarta. I have the holes drilled and the outside rough-ground to shape.
Next I drill and team a hole for the stop pin, and then start testing the closed fit up against the pin, I use a round file to file away a space for the pin to fit into the blade when in the closed position.
Finally, it's beginning to resemble a knife!
Next I drill and team a hole for the stop pin, and then start testing the closed fit up against the pin, I use a round file to file away a space for the pin to fit into the blade when in the closed position.
Finally, it's beginning to resemble a knife!
More work...
In the first picture, I've already milled the relief for the liner lock bar and I'm beginning to cut out the lock bar.
After it is cut, I screw the two liners together and finish the liner profiling. More pictures of that later.
Now we'll take the blade blank and put it on a sheet of sandpaper lying on a very flat surface.
Start putting even pressure on the blade and move in figure '8's. We need it to be very flat. I need a surface grinder!
Profiling and tapping
In the first picture I have already drilled and reamed the hole for the pivot in the blade, and I've started profiling the blade on the belt grinder.
In the next picture, I'm tapping one of several holes in one of the liners.
In the next picture, I'm tapping one of several holes in one of the liners.
A little drilling
Here, I'm using a automatic center punch to mark where I want to drill the hole for the thumbstud. Then, drill the hole.
Monday, December 10, 2012
New Project
Ok we're going to start a new project. This is going to be a liner-lock folder built to a customer's specs.
First, let's take the drawing I've drawn and the customer approved and cut out the basic shapes we'll start with.
Next, I glue these to the metals I'll be shaping, in this case CPM S35VN for the blade and some .090" titanium for the liners.
Now cut out the liners from the sheet of titanium and we have out three biggest components ready to start shaping.
Friday, December 7, 2012
First Blog post!!!
Ok, here's my first ever blog post! Now that that's out of the way, the whole reason. I set this up was to post the knife making activity that's happening. Hopefully people who have orders can see their knives being worked on and others can just see some of the work that goes into making a knife. Thanks for coming along, I hope to start adding content this weekend.
Subscribe to:
Posts (Atom)


